Step by Step guide
Logging in
Assuming MasterMind is running locally, the home page can be reached on http://localhost:8080. The first time accessing MasterMind the user will most likely see a welcome page.
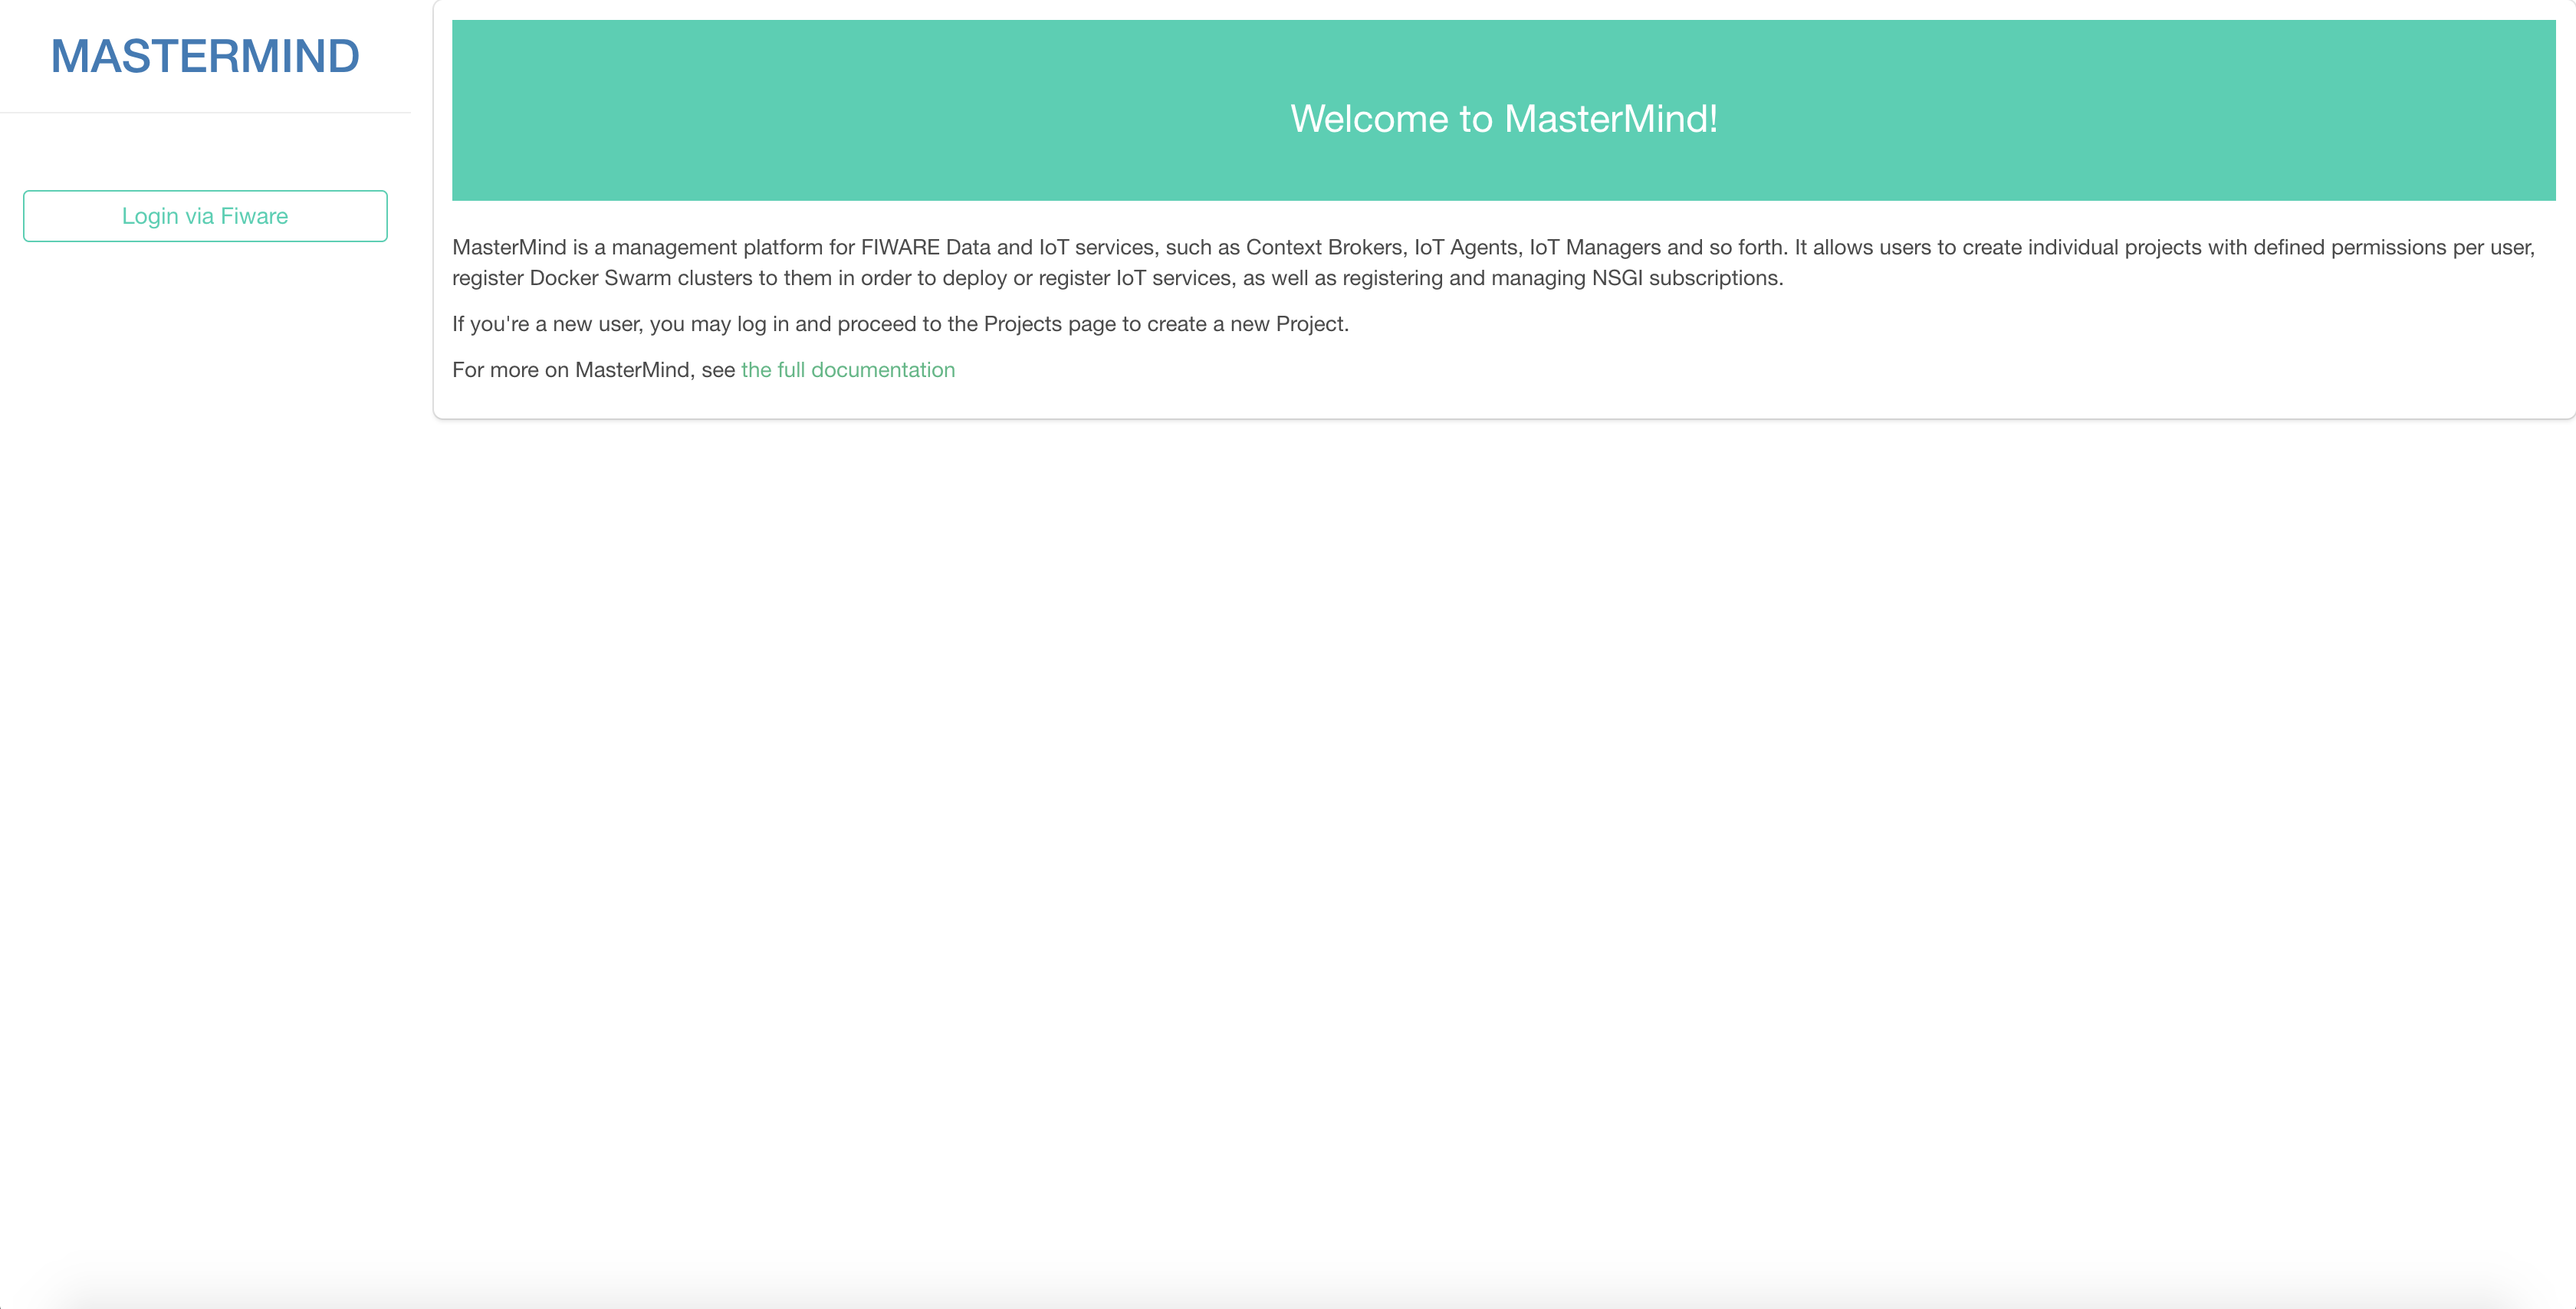
Clicking Login will allow the user to Authenticate in MasterMind with its Fiware Lab credentials. After successfully logging in, the user can access the Projects page.

Registering a new Project
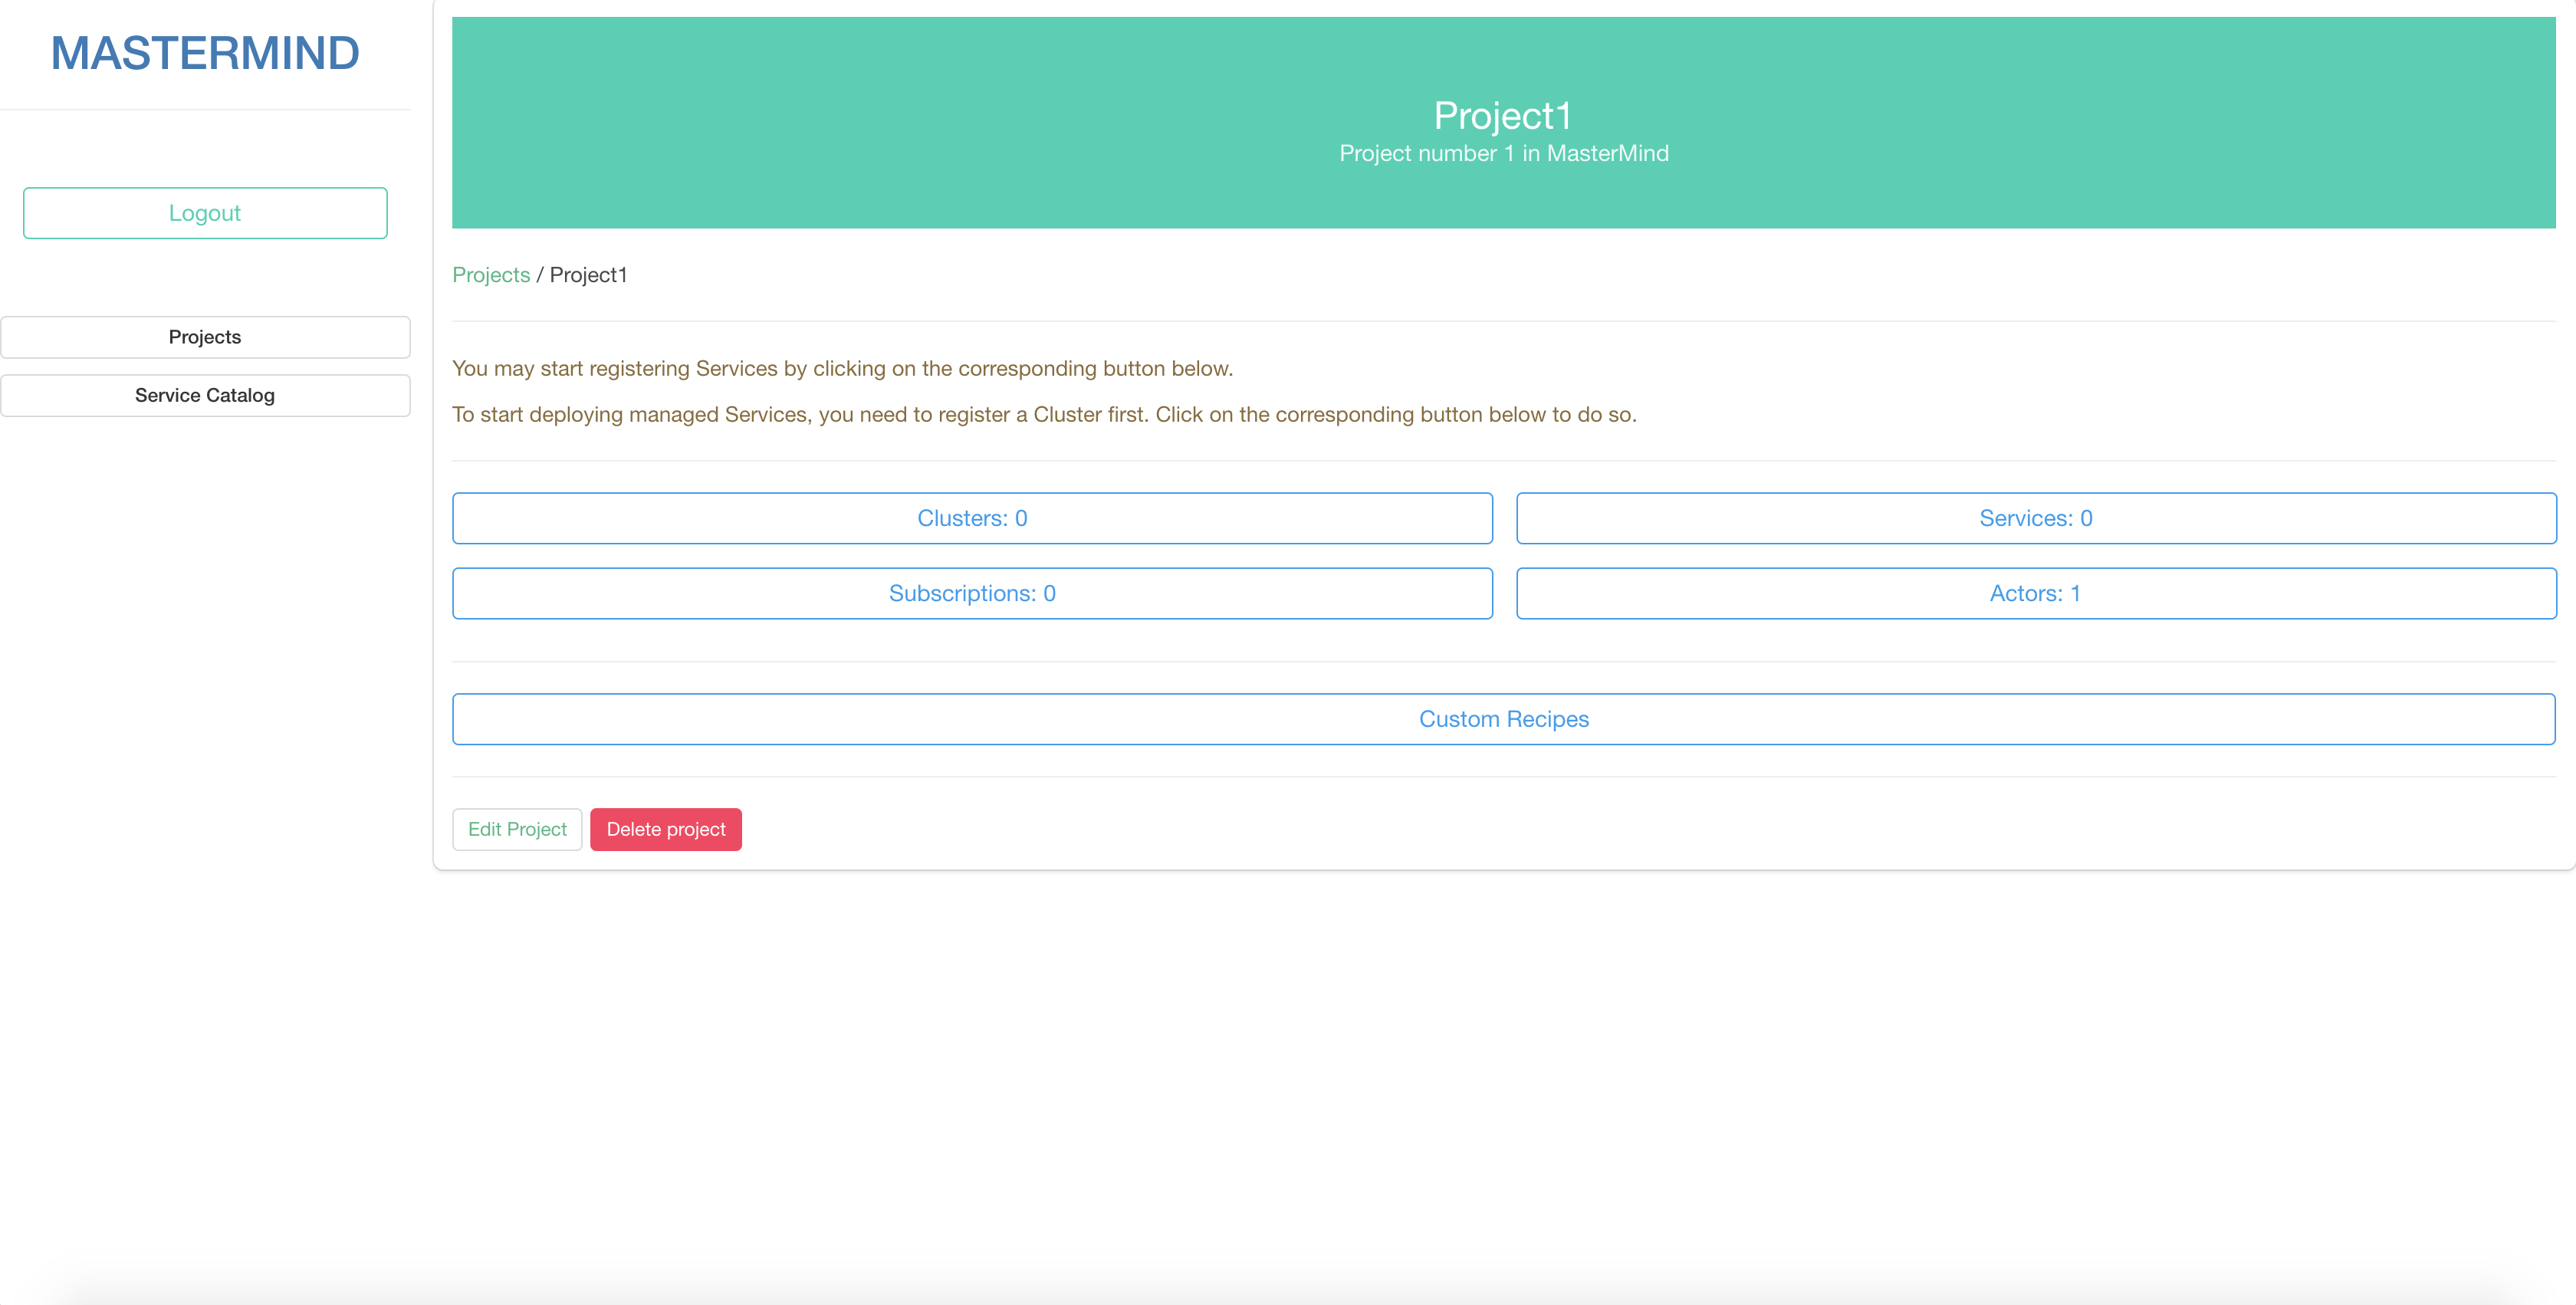
The user can create a new project on this page by clicking the "register project" button below. When creating a new project the user will be asked to name it and provide a short description. Once the project is created the user is automatically given an Admin role in it.
When clicking on the newly created project, the user will be brought to the project overview page.
Registering a Cluster
Before any services can be deployed, a Cluster needs to be registered first. From the Project overview page, clicking on Clusters will lead the User to the Clusters overview page. Clicking "Register Cluster" will bring up the form to register a Cluster.
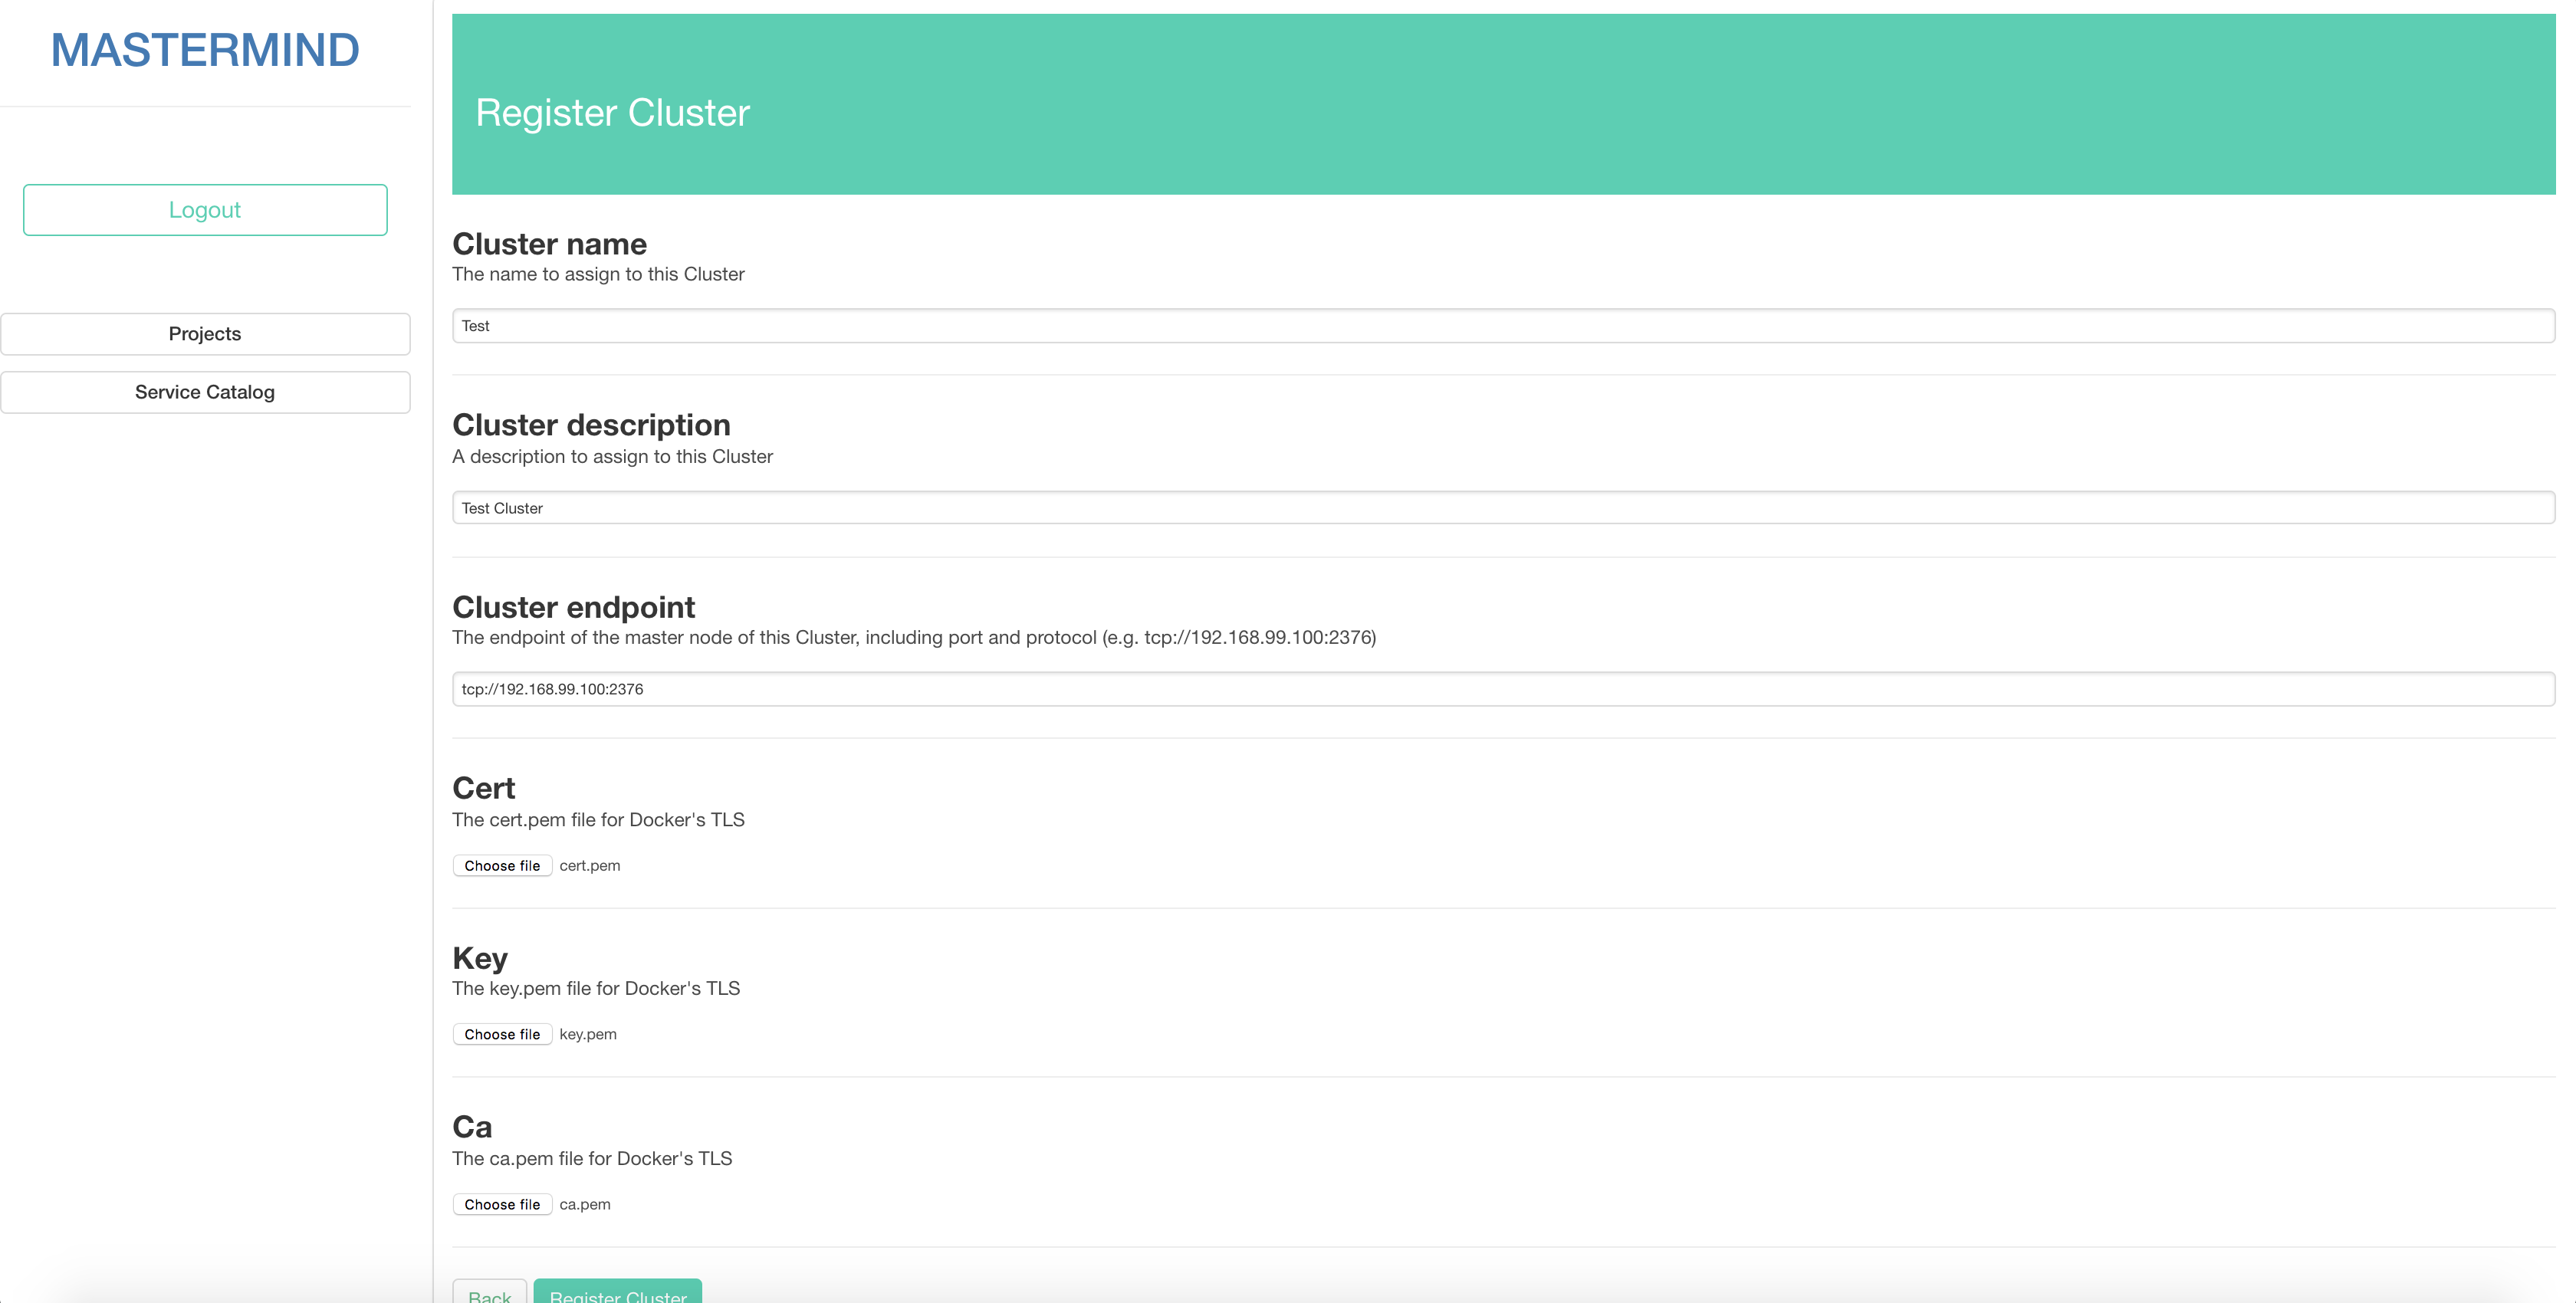
We can assume that the user already has a Docker Swarm Cluster available, and also has access to the TLS files for it (cert.pem, ca.pem and key.pem files).
The form has to be filled with this data:
- The name for the Cluster
- A description for the Cluster
- The endpoint of the Cluster. This refers specifically to the endpoint of the Docker Swarm Cluster's Master Node, including the protocol to communicate with it and the port used by Docker (e.g. tcp://192.168.99.100:2376)
- The cert.pem file to access the Cluster
- The ca.pem file to access the Cluster
- The key.pem file to access the Cluster
If filled in correctly, clicking "Register Cluster" will bring the user back to the Clusters Overview page, where the new Cluster is registered and ready to be deployed on.
Registering a Service
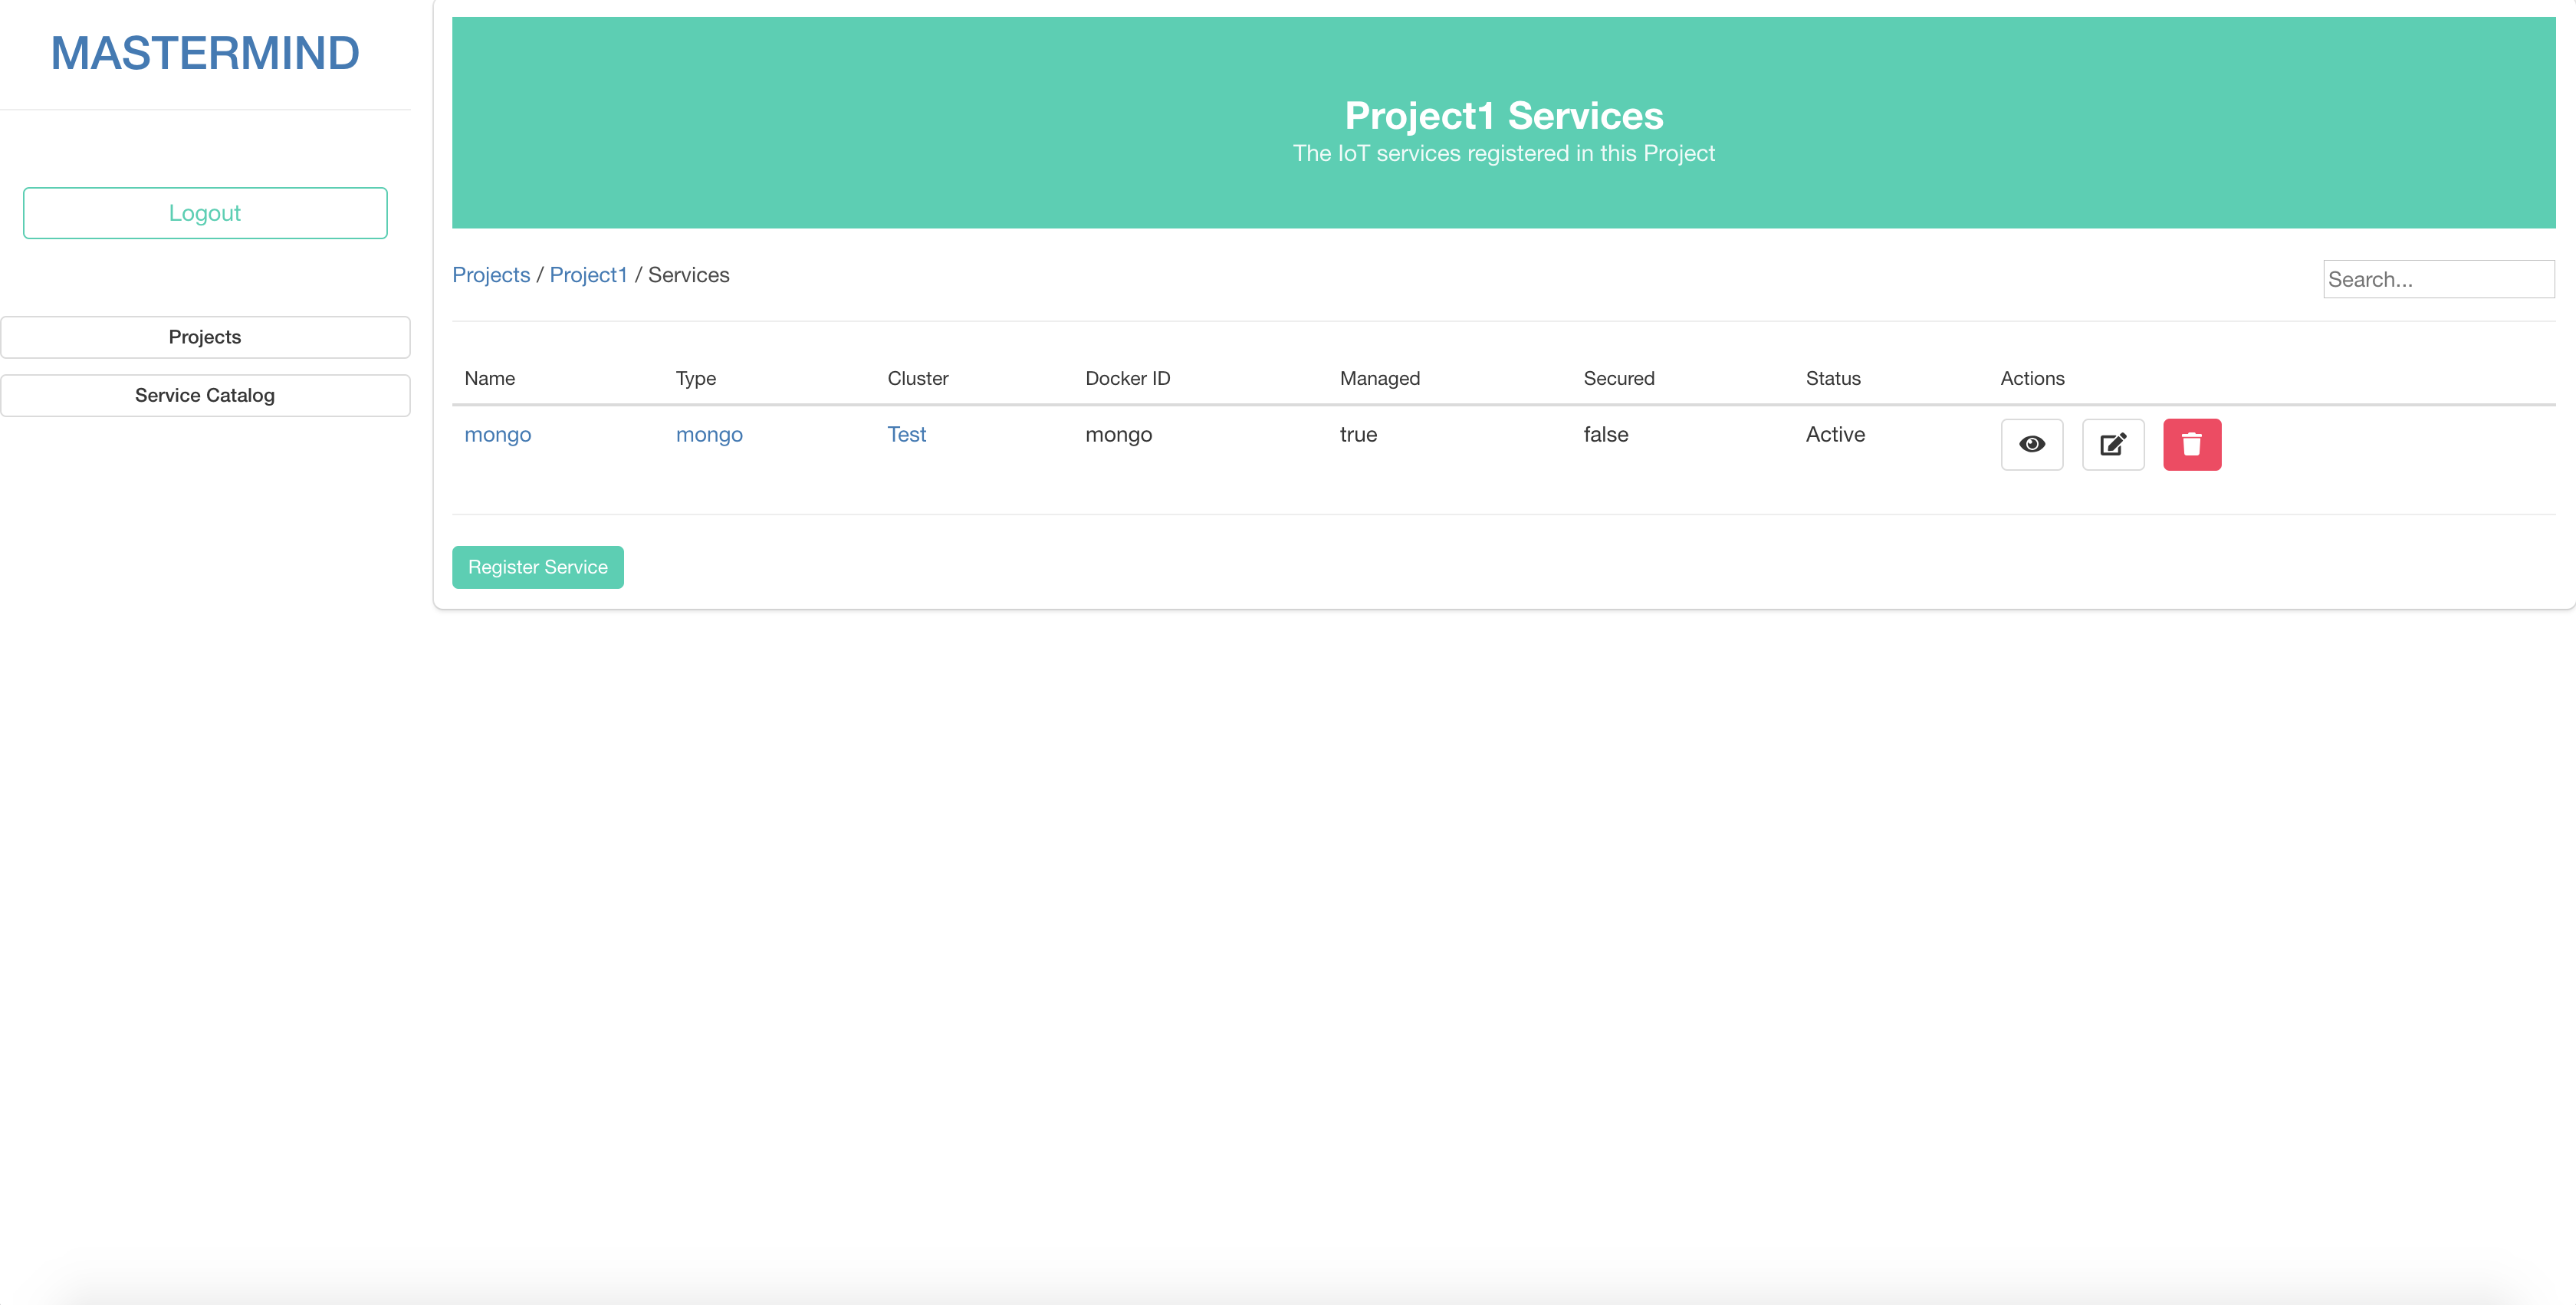
Once a Cluster is registered, the user can start registering Services on it. From the Project overview page, clicking on Services will bring up the list of currently registered Services, which should be empty to start. Clicking on Register Service will bring up the Service registration form.
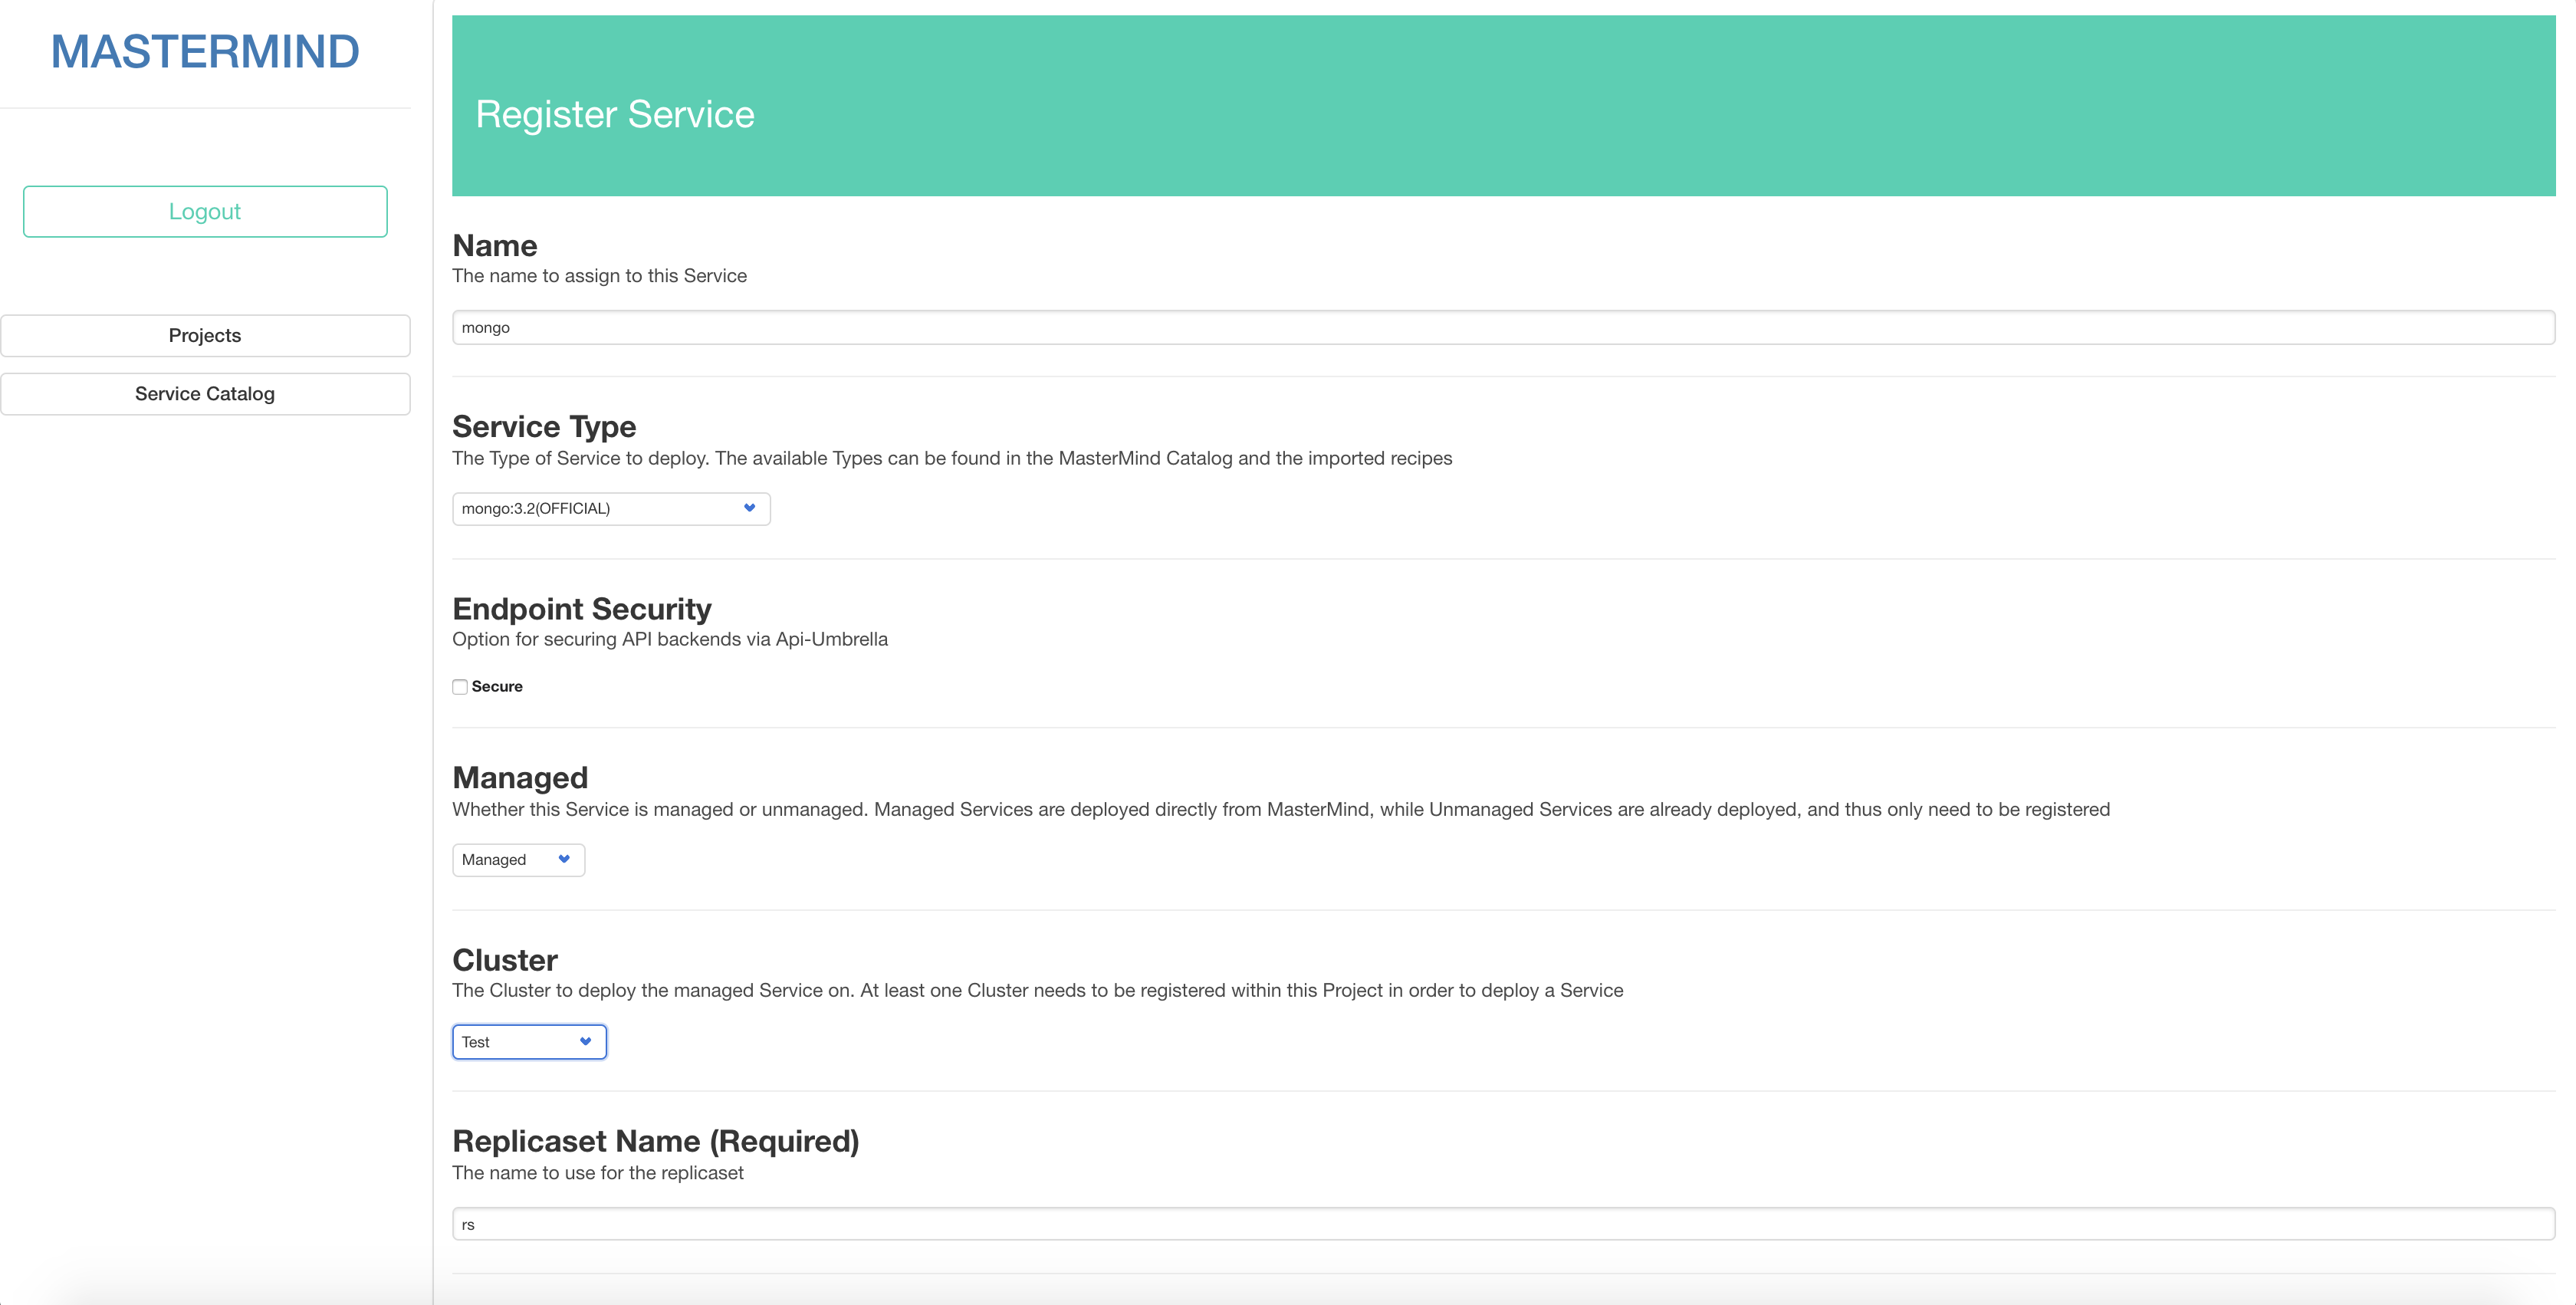
The form has to be filled as such:
- The name of the Service
- Whether the Service is going to be managed or unmanaged. Managed Services are deployed and managed from MasterMind itself, while unmanaged Services are already deployed on the Cluster, and thus only need to be registered.
- The Cluster the Service will be deployed onto. The dropdown menu will automatically display the Clusters registered to the Project. This option is only present if the Service is meant to be managed.
- The endpoint of the Service. This is the URI the Service can be reached at. This option is only present for unmanaged Services.
- The Service Type for this new Service. The Types provided come from the Catalog of IoT Services MasterMind can register for the user.
- The Configuration Variables for the Service. Depending on the Service Type, a series of extra options will be given for the user to fill in. These can be marked as either required or optional, and can come in the form of either fields to fill in, or other Services registered within the Project, for situations involving linking Services together (e.g. an IoT Agent connected to a Context Broker). These fields also differ if the Service is meant to be managed or unmanaged.
Once all the details are filled in, the user can choose to simply register the Service, or register it and deploy it on the Cluster immediately if the Service is managed. If the Service isn't deployed right away, the user can deploy it manually from the Service details page, which can be accessed by clicking on the Service's name from the list of Services.
Registering NGSI Subscriptions
Assuming the user has a Cluster registered with a Context Broker deployed (e.g. Orion), it can now start registering NGSI Subscriptions to the Broker. The Subscriptions list can be accessed from the Project Overview. Clicking on Register Subscription will bring up the Subscription registration form.
The form can be filled in as such:
- The name for the Subscription
- A description for the Subscription
- The expiration for the Subscription, written in ISO 8601 format (e.g. 2019-11-06T14:08:40+00:00)
- The throttling of the Subscription in seconds
- The entities the Subscription is for, id and type (e.g. id: Room1, type: Room)
- The condition attributes for the Subscription (e.g. pressure, temperature, ...)
- The Service to register the Subscription to. The dropdown menu displays the Services registered to the Project
- The Service to act as the notification endpoint. The dropdown menu displays the Services registered to this Project
After registering the Subscription its status is set to inactive by default, as seen on the Subscriptions list. It can then be selected and activated, as well as deactivated, by the user via the buttons below. Clicking on a Subscription's name on the list will take the user to the Subscription's details page.
Registering Actors to the Project
In order to allow more than just the one user who created the Project to perform actions within it, Actors need to be registered within the Project and given Roles.
From the Project Overview page, clicking on Actors will bring up the Project Actors list.
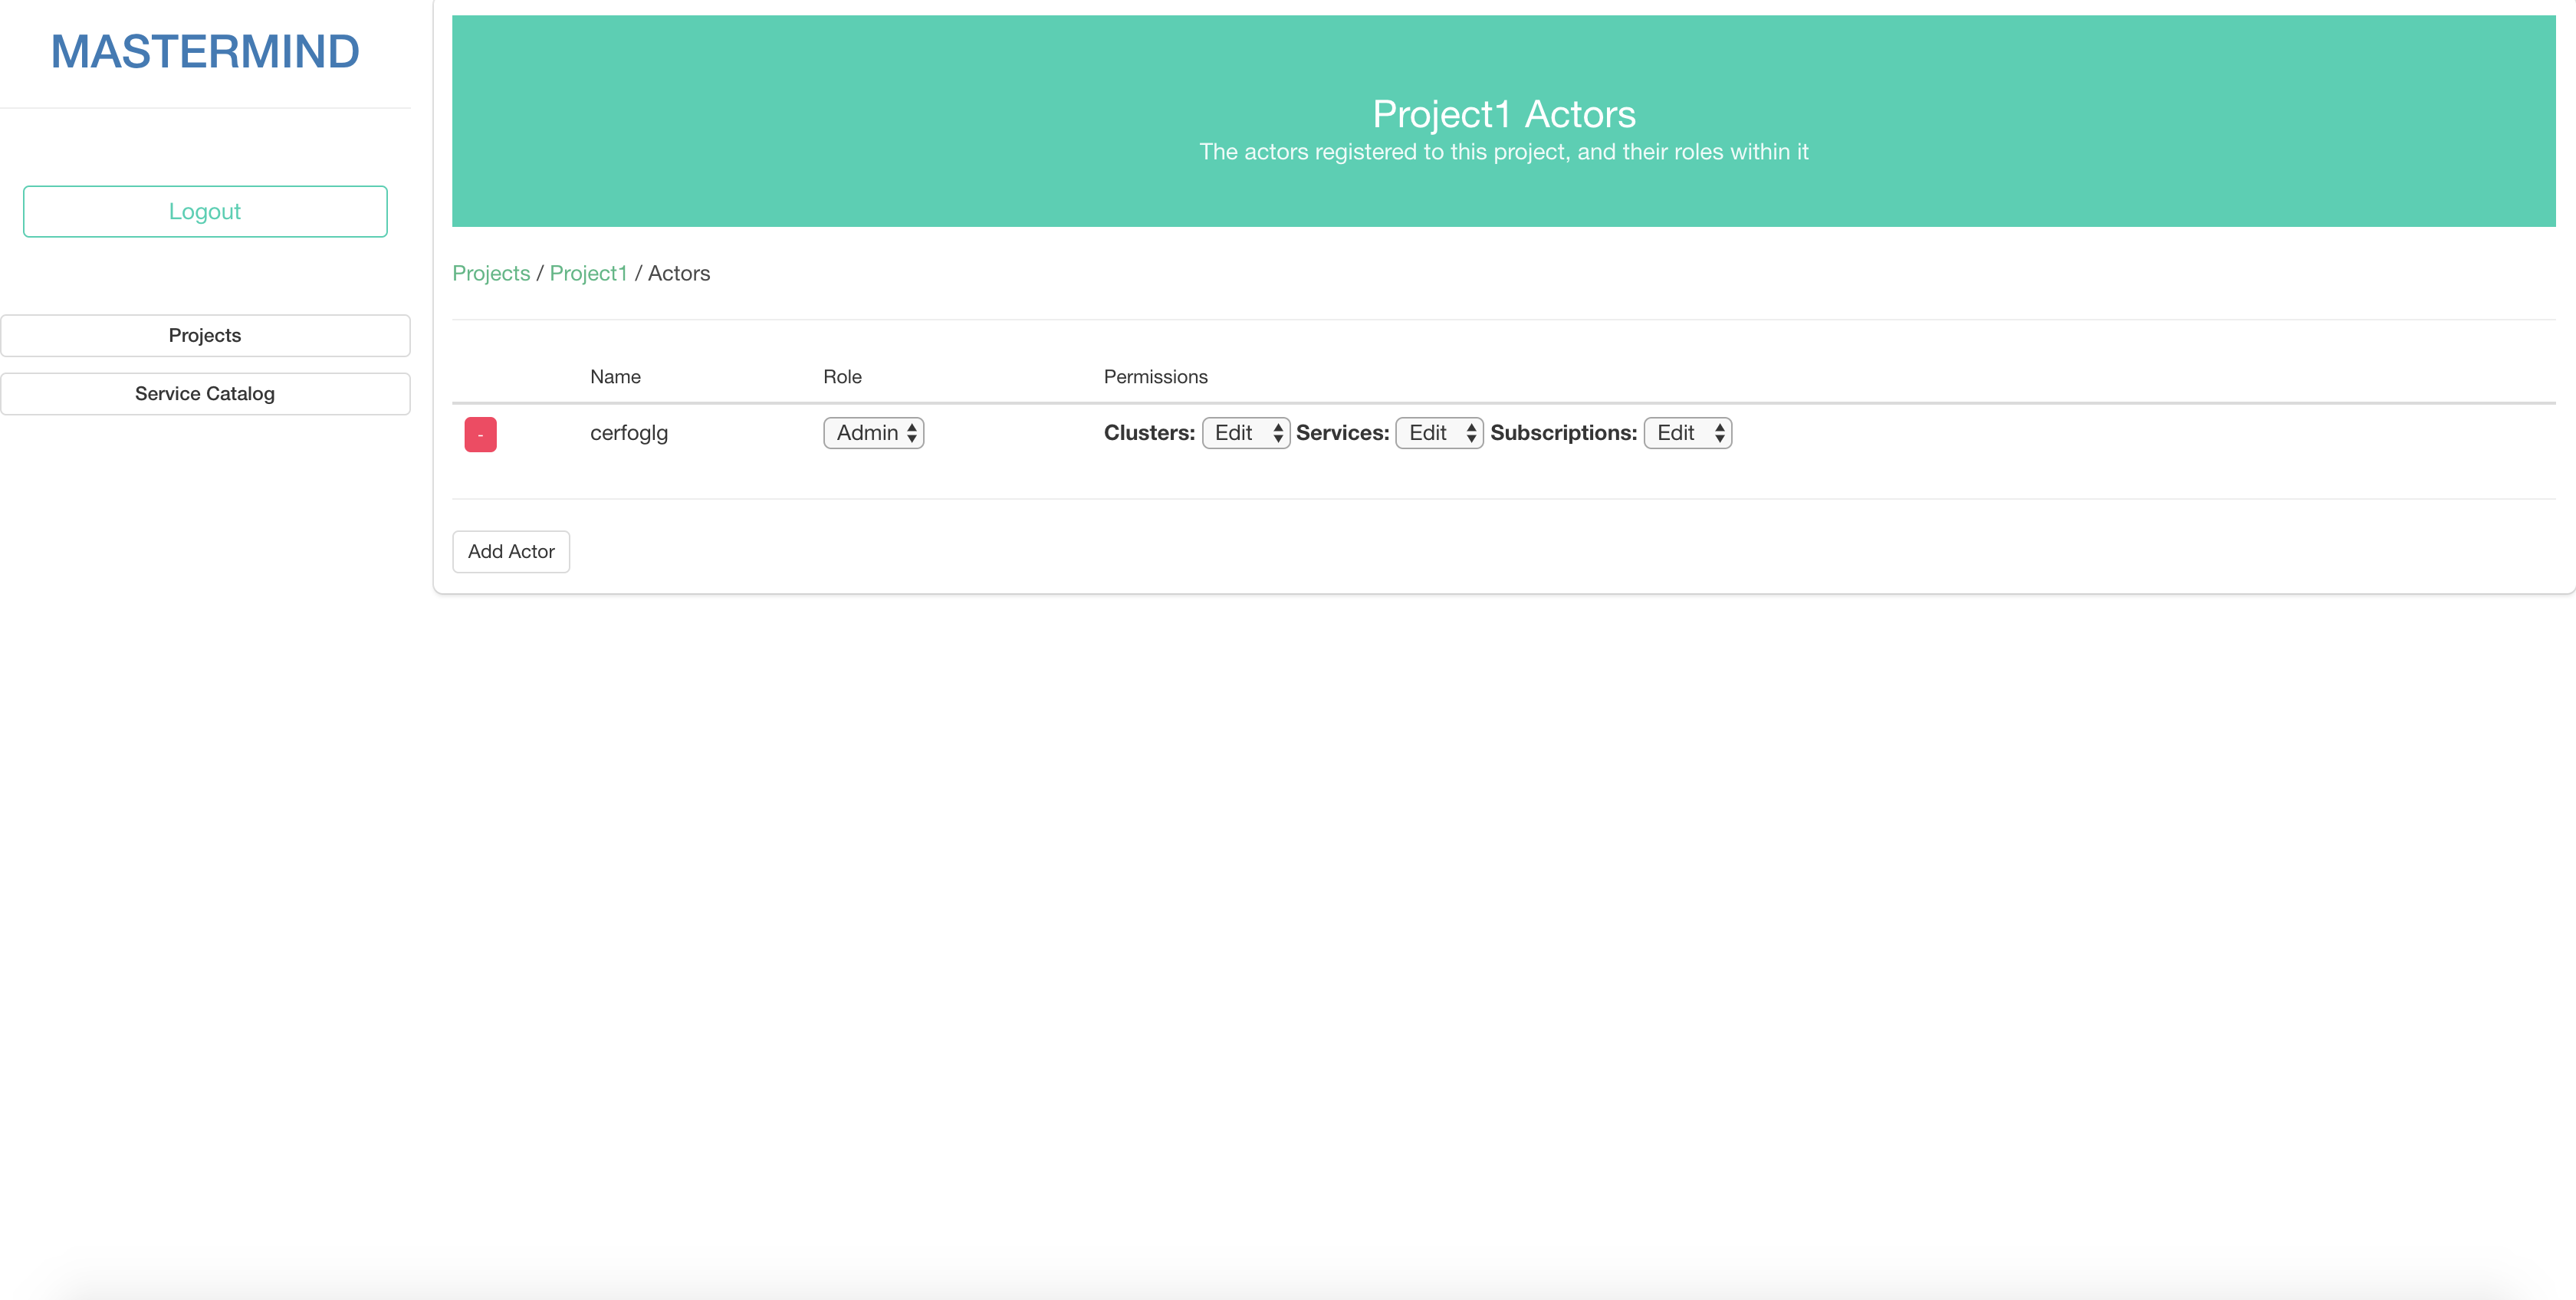
The currently logged in User will already have the role of Admin by default, which means it has full control over the Project and its registered resources. Clicking on "Add Actor" will allow the user to add in other users to the Project, and assign a Role to them depending on the degree of control they should have over the Project.